6 Tips to Nailing the Perfect iPhone Photo or Video
lifestyle6 years ago
It’s a common misconception that you need four-figure camera gear to be able to take a great photograph or be a good content creator. While better equipment does help, it doesn’t a photographer make! If you’re getting started on trying to build an awesome Instagram account or blog, you can use your smartphone to capture some pretty great images!!! Here are my top iPhone shooting tips to getting a beautiful photo or video, just using my smartphone:
1) clean your screen
Sounds pretty obvious, but if you’ve had your hands all over your phone all day, your lens is probably smudged… and if your lens isn’t clean, you’re not gonna get a great photo! Grab a clean lens cloth (my sleeve or the hem of my shirt also comes in handy for this!) and give your iPhone lens a good wipe before you start shooting.
2) adjust your HDR settings
Ever had issues with your photos, where the images are super blown out and bright in some areas, and too dark/shadowed in others? That usually happens when you’re shooting in bright sunlight, or any other condition where there’s lots of contrast between the subject and the background. Adjusting your iPhone’s HDR settings will help even out the lighting, to give you a photo that you’ll be able to work with more easily. Just follow the steps listed below, and make sure you have your HDR set to Auto, so that your phone knows when to use its inbuilt HDR settings!
Settings » Camera » HDR (High Dynamic Range)
3) shoot video in 4K
OK I will admit that I learned this LITERALLY two weeks ago, so this is new news to me too… but did you know that your iPhone can shoot in 4K? 🤯 That means that you can use your phone to get a super crisp video for your next vlog, IGTV post or Instagram Story! Use the settings below to make sure your iPhone is set to always shoot your videos in the highest resolution possible:
Settings » Camera » Record Video » 4K at 60 fps
Settings » Camera » Record Slo-mo » 1080p at 240 fps
4) find the light
Unlike your DSLR camera that you can adjust manually, your smartphone adjusts its settings automatically… meaning that you need to do whatever you can to ensure that you’re making it easier for your phone to capture a sharp shot! A big part of this is all about making sure you’re shooting in bright, even light… unless you have the help of an adequate flash or ring light (love and own this one). Shooting in good lighting will take away any issues you have with blurriness, grain and low resolution.
5) it’s all about the angle
If you’re taking a street style, full-body shot… get ready to get low! aiming the camera straight ahead at waist level or lower will help to lengthen the legs and produce a much more flattering shot. Alternatively, a headshot or half-body shot might benefit from an eye-level angle, or even above eye-level if you’re going for something a little more artistic.
If someone’s shooting you, make sure you instruct them NOT to cut off your feet… and to make sure they’re leaving enough negative space around you so that you can easily crop the photo for Instagram. I know, it sounds like something everyone should know by now… but you’d be surprised by how many people forget this, especially when a stranger is taking your picture for you!
6) editing apps
“What apps do you use to edit?” is probably the most frequently asked question I get on Instagram! Well, here you finally go: I love Lightroom and Snapseed for light adjustments, VSCO and Tezza for filters, and Afterlight for special effects like color shifts, film filters and double exposure.
⭐️ need more tips? here are the cameras, lenses & presets I use! ⭐️
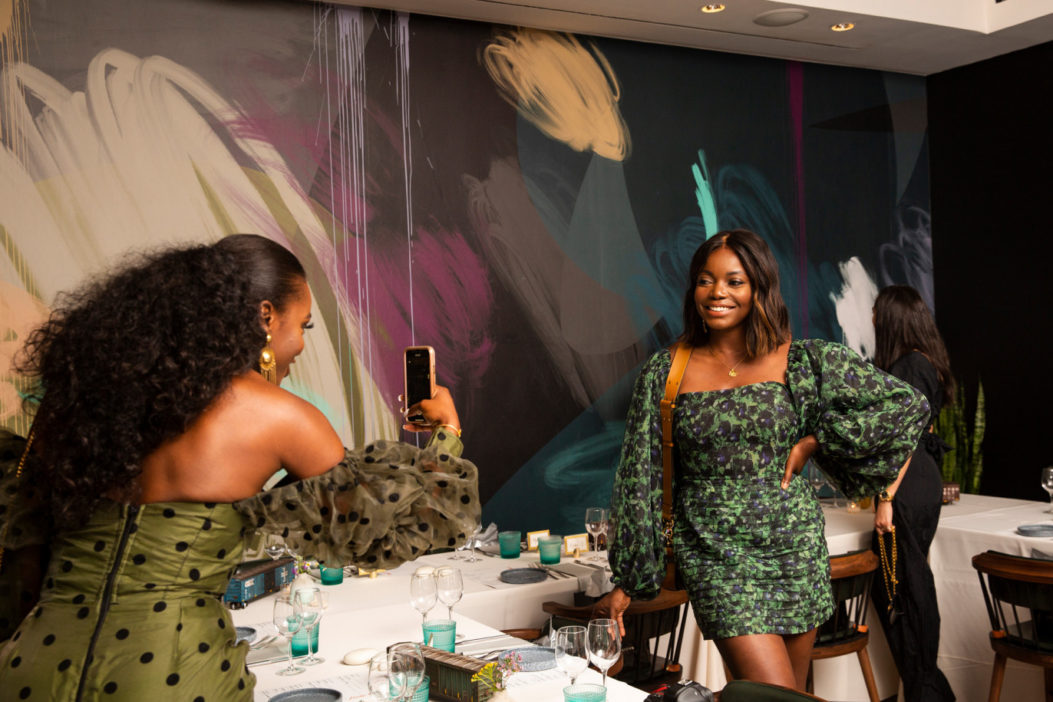
feature image via Coveteur

load comments (0)